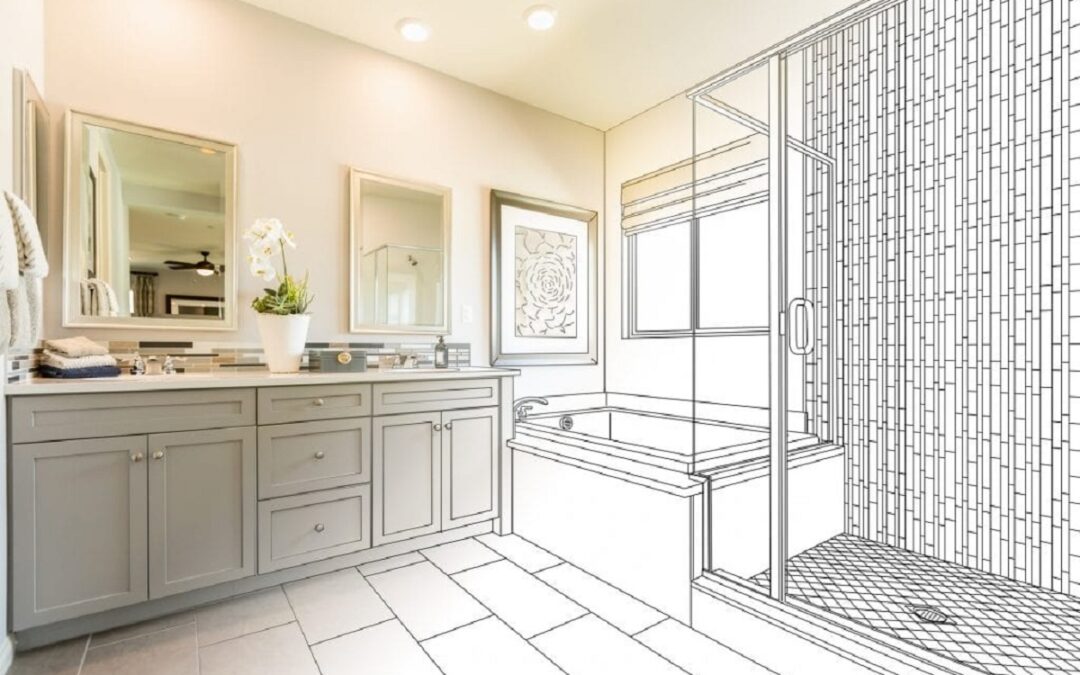
Every homeowner hopes for the day they can complete their dream bathroom remodel. Although it’s nice to imagine the things you’d like to see, it will not assist you in completing the task. Whether it’s your guest bathroom or the powder room bathroom, renovations are a big project. From selecting the best colors and tiles to ensuring the demolition process is carried out correctly, it is essential to consider various aspects. Following this step-by-step guide and getting help from a nearby bathroom remodeling contractor, you’ll be able to finish the project rather than think about it.
Step 1: Create a Task List
If you’re planning an entire or a part of a bathroom remodel, begin the process by creating your list of tasks you’d like to complete. Make a list of all the modifications or replacements and any other enhancements you’d like to see. Include this on your list, for instance, if you want to keep your light fixtures in the exact location but add a new sink with more excellent cabinet space. An inventory will aid in identifying any particular areas for improvement that you may have overlooked while planning your plans in your mind. It will allow the contractor you choose to understand what you want and create an estimate for the Work.
Step 2: Clean-Up and Demolition
Suppose you’re planning to remodel the entire bathroom. To your specifications, the contractor needs to tear down the tiles, fixtures, ceiling tiles, and portions of the ceiling and walls. Before beginning any installation or replacement, the contractor must thoroughly clean the bathroom and demolish certain vital areas.
Demolishing and cleaning will require considerable time and must get handled with care. Suppose a particular bathroom area must get destroyed by accident and is not intended to be removed, which is a costly mistake. If so, the cost of repair or replacement will be high.
Step 3: Plumbing and Electrical Work
A bathroom remodel isn’t complete without plumbing and electrical wiring. An electrician must hire to install new switches and dimmers, install lighting fixtures, and complete any interior electrical work. In the same way, if you are installing a bathtub, toilet, or sink, the plumber is necessary to hook up the plumbing to the new fixtures. After all the required cleaning and demolition work gets done, a plumber and an electrician will finish their portion of the remodeling process.
Step 4: Install or Repair Drywall and Ceiling
The process of hanging new drywall or changing your popcorn ceiling to an even one is the Work of a professional painter. The process can add a stylish appearance to your bathroom. Drywall or painter can assist you with these jobs.
Step 5: Set Tiles
When the ceiling and walls get finished, it’s time to install new flooring for your bathroom. Numerous alternatives are available, but the most effective tiles are ceramic and porcelain.
Based on the size of your bathroom, it could take 6-8 hours to put new tiles on the floor on their own. Setting the tiles in an even line is crucial to avoid an uneven base. Keep in mind that this is among the very first items you see when you wake up, so it is essential so straight as well as visually pleasing as you could be.
Step 6: Bathroom Fixtures
After the ceiling, wall, and tile work get completed, the Work begins. The contractor will start preparing the materials needed for all new bathroom fixtures. Based on the bathroom fixtures’ dimensions and shape, a professional will carefully cut and place tiles to give them the most visual appearance. When you get finished, you could also put new tiles in the shower stall or on the walls to match the bathroom fixtures. The latest bathroom fixtures can take 2 to 3 days to complete if a brand-new shower or bathtub room gets installed.
Step 7: Place Furniture and Shelves
After the massive fixtures, paintwork, and floor work get completed, the contractor can now put in the furniture, such as cabins and shelves. Installation of the table during this time will safeguard it from paint splatters or accidental damage. It is possible to purchase the furniture on your own, request the contractor to acquire it for you, or re-install the old furniture and paint it with fresh paint. If you’ve created your initial list at the first step, ensure that you include this information regarding shelves and furniture.
Step 8: Final Clean Up
Everything has to get thrown away. Renovation projects leave behind plenty of debris, dust, and chaos. It could be old furniture or fixtures you wish to dispose of, paint-related items, walls and ceilings, or empty boxes filled with modern fixtures.
Whatever the size or price of the job, we take satisfaction in developing creative solutions that meet your renovation needs. Call Ottawa Home Pros at (613) 288-9145 and email at info@ottawahomepros.com for your next bathroom renovation project.


